


Native Direct Integration
Zapier Email Verification
Automate contact list hygiene between Bouncify and Zapier. Verify subscriber lists in bulk and suppress bounces with one click.
How to Connect and Verify Zapier Lists
Follow this step-by-step setup guide to authenticate your Zapier account, import your contact lists, run deep multi-stage verification, and export clean subscriber data directly back into Zapier.
Getting Started
- Zapier allows you to automate your email verification.
- Zapier allows you to trigger one product from another product and completes the action automatically for you.
- In Bouncify, you can verify your email address by integrating your 3rd party apps with Bouncify.
- Bouncify verifies the email address automatically once it is submitted in your 3rd party apps.
Pre-requirements for integrating Bouncify with Zapier
- You must have a Zapier account, if not create a new account.
- You must have an account with Bouncify.
- You must have your email database in your 3rd party application.
Integration with Zapier
For example, let's integrate Bouncify with Google sheets at Zapier.
Steps to trigger the 3rd party application
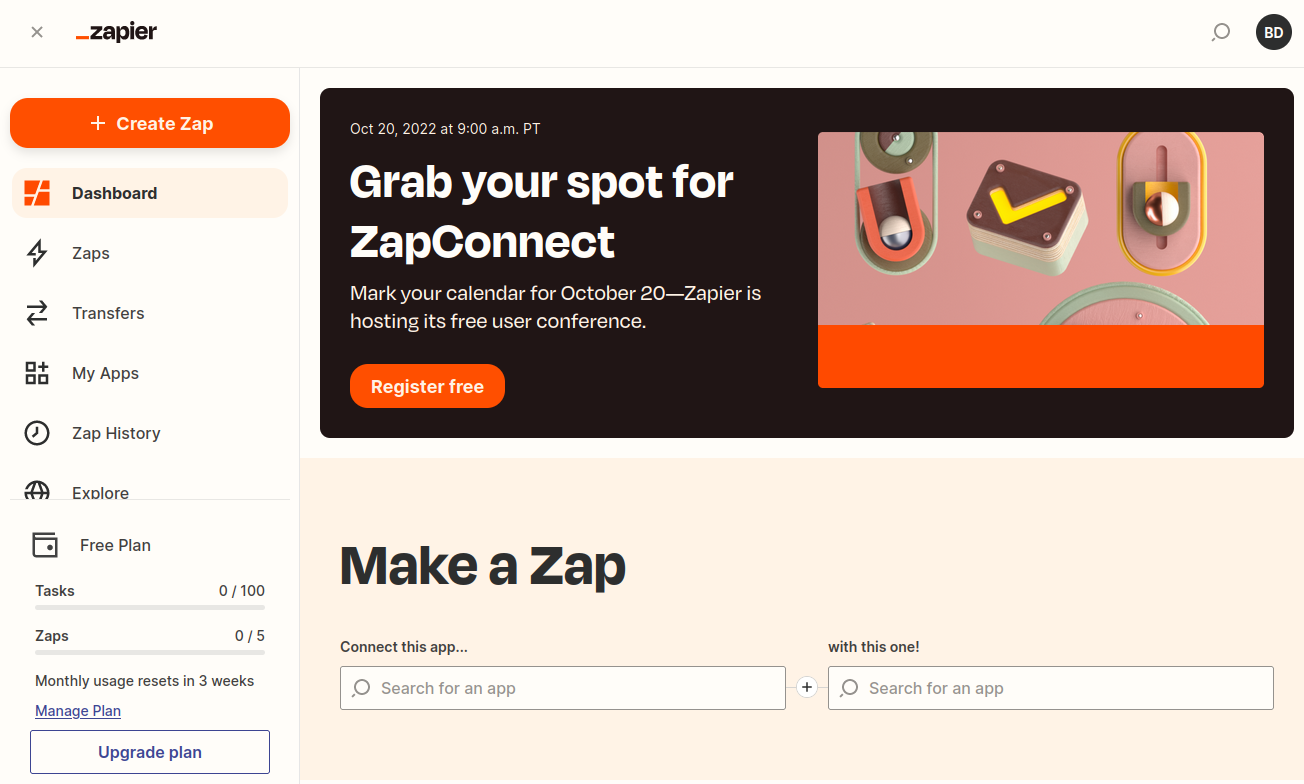
- Login to your Zapier account and click on “Create Zap” at the top left corner.
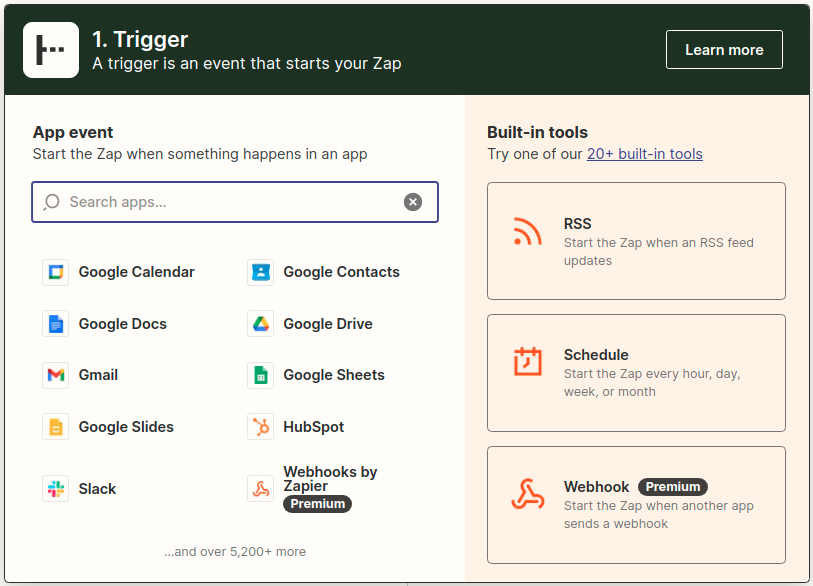
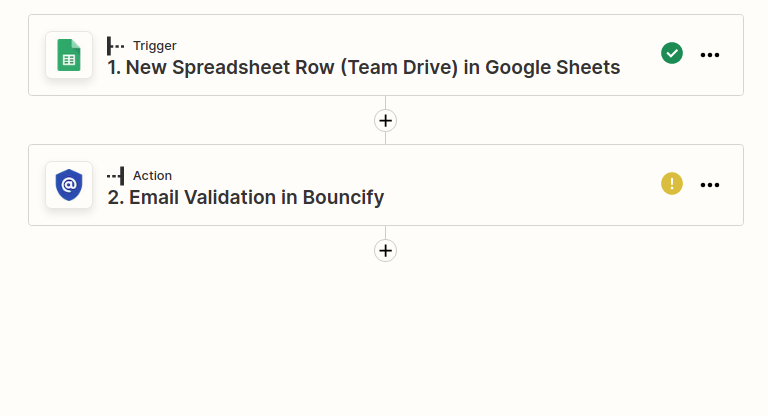
- When the Zap editor opens, you will be asked to select an app as the trigger. Search for the Google Sheets and click on it.
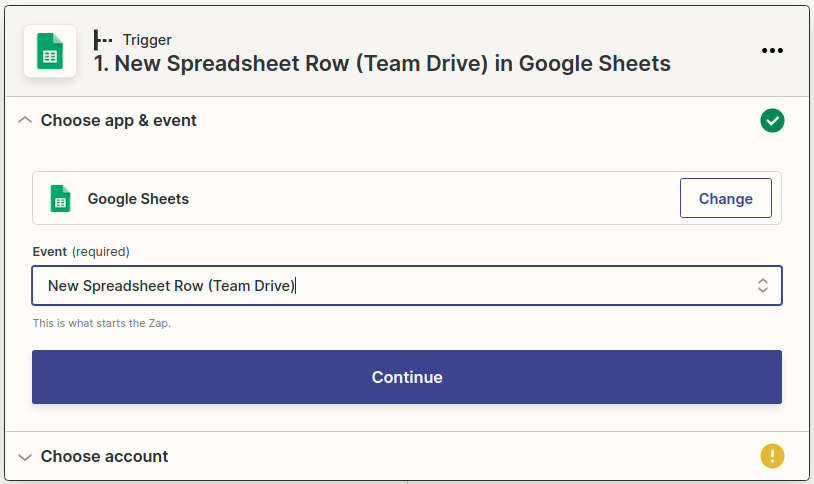
- You will then be required to select a trigger event. Choose the event "New Spreadsheet Row" and click on "Continue".
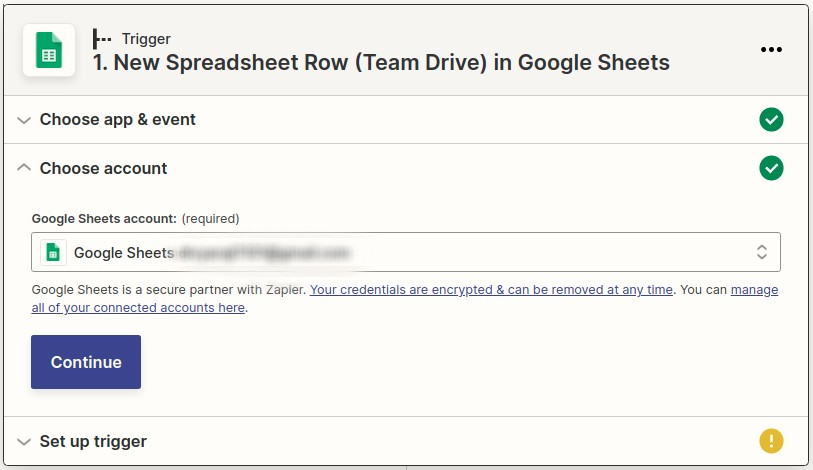
- In the "Choose account" section, select your Google account. If you haven't connected it before, click on “Connect a new account” and you will be prompted to log into your Google account.
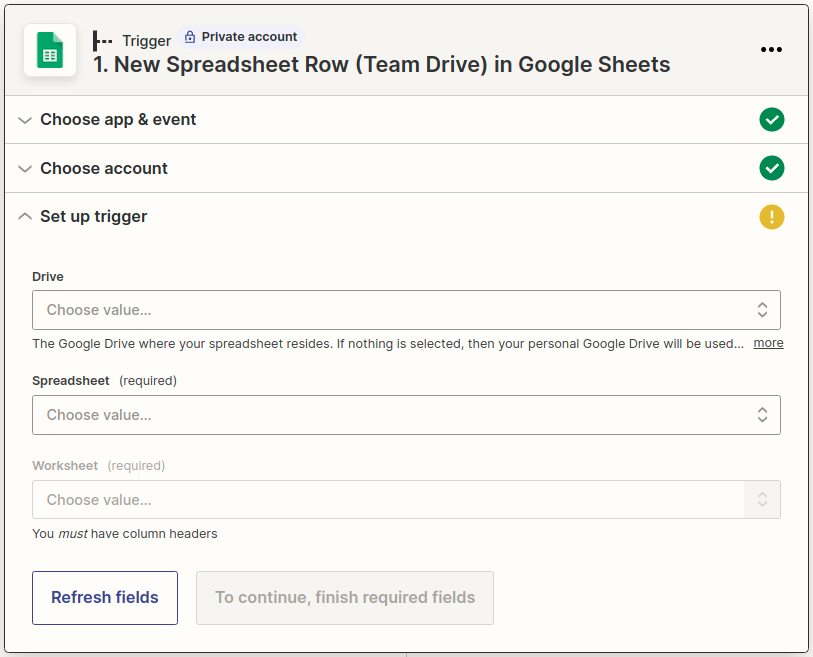
- In the next section, choose the drive, spreadsheet and worksheet which you want to link and click "Continue".
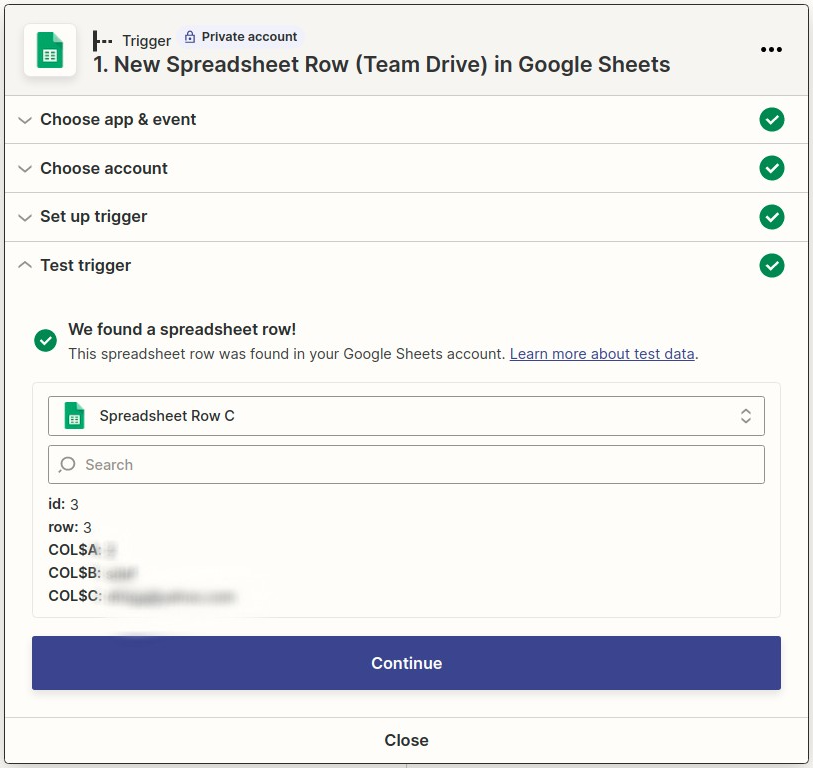
- To set up your trigger, click on the “Test trigger” button. Zapier will fetch the information from Google Sheets to test the connection. When you are satisfied with the test data, Choose the spreadsheet row which contains the email address and click "Continue". The Zap Editor guides you through the step-by-step process of configuring a Zap action.
Steps to start an action
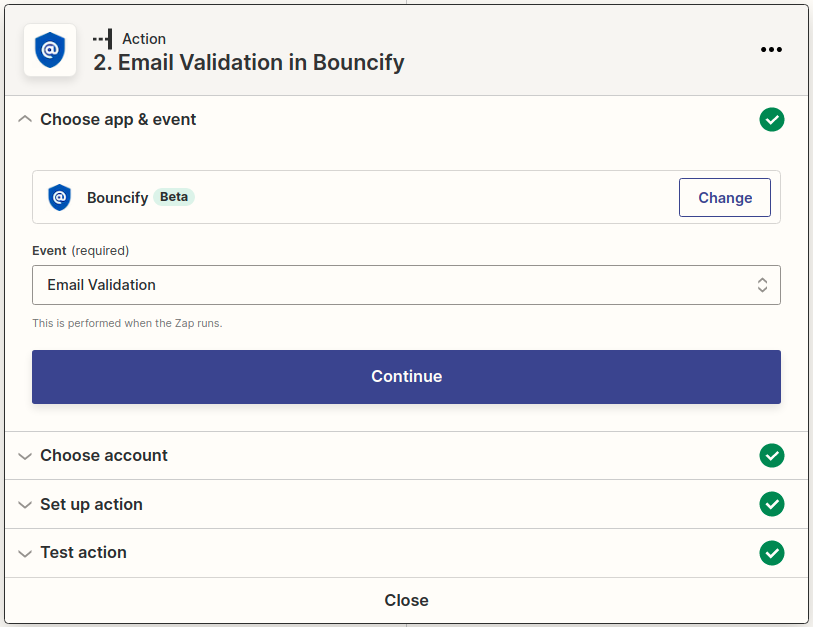
- Choose "Bouncify" in the app section and "Email Validation" in the event section, then click on "Continue".
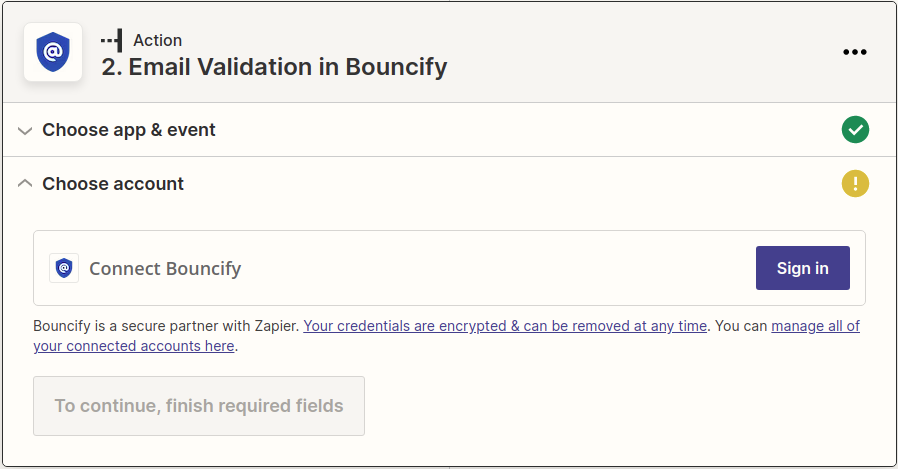
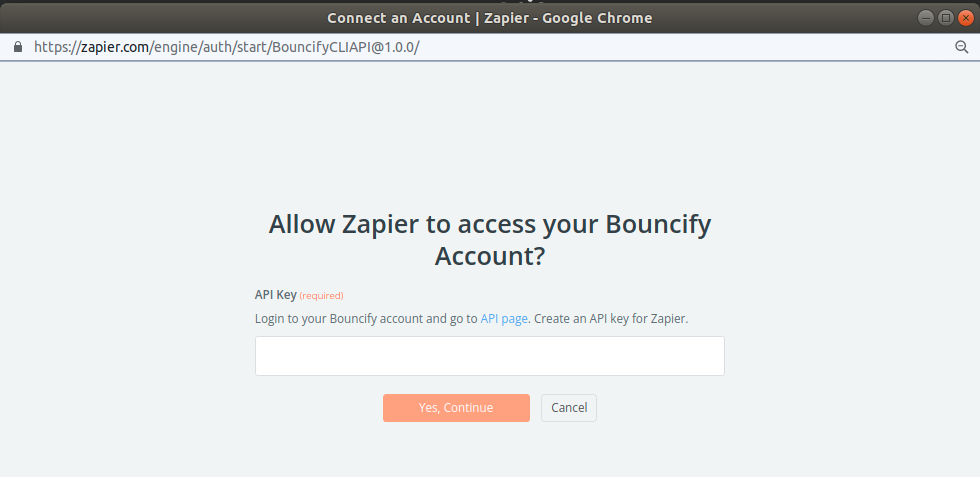
- Now click in "Connect Bouncify", a popup box appears for Bouncify login.
- To connect your Bouncify account, copy and paste the API Key from the API section of your Bouncify app.
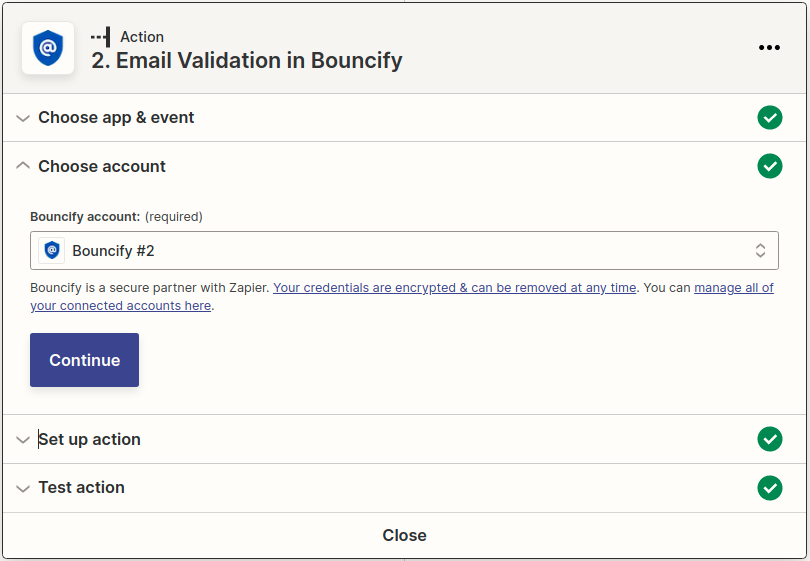
- Once the account is chosen, click on "Continue".
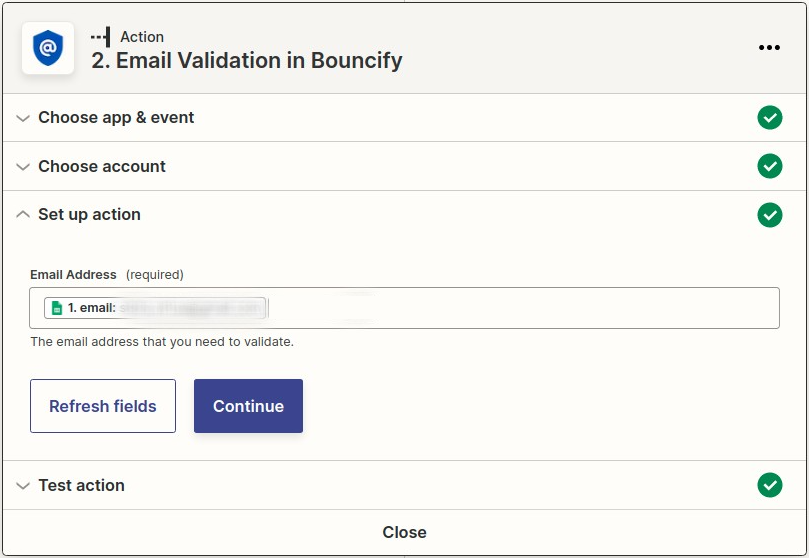
- Set up the action by choosing the email address row that you need to validate and click "Continue".
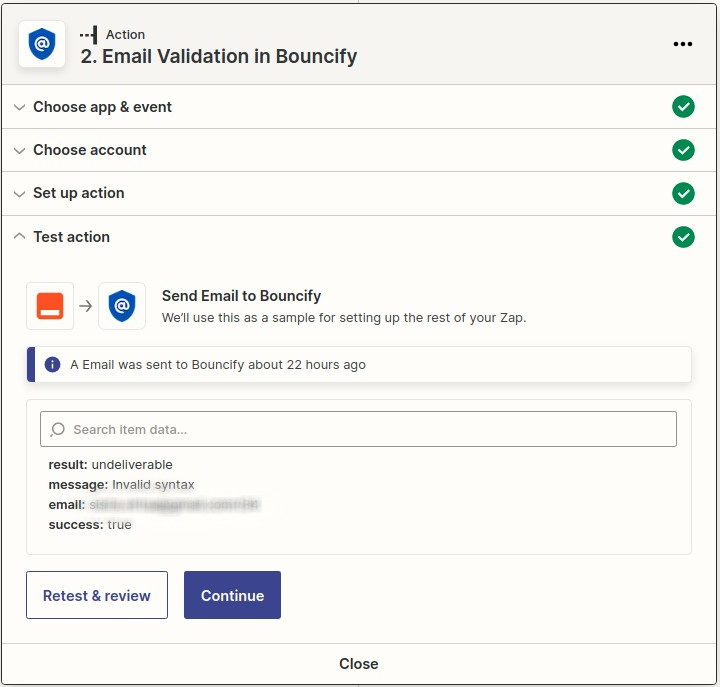
- Now you can test the Bouncify validation or you can skip the test.
To publish the results
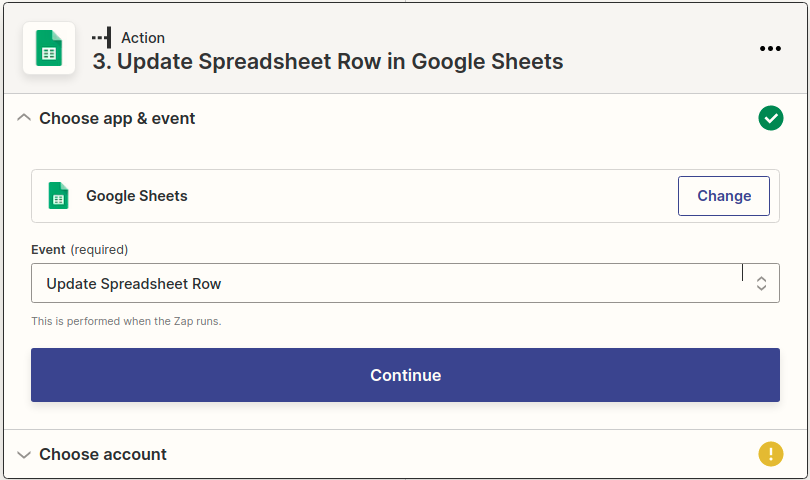
- Again, you will need to add an action to update the validation result in the Google Spreadsheet. Click the (+) symbol.
- Choose “Google Sheets” in apps and Choose “Update Spreadsheet Row” as an event.
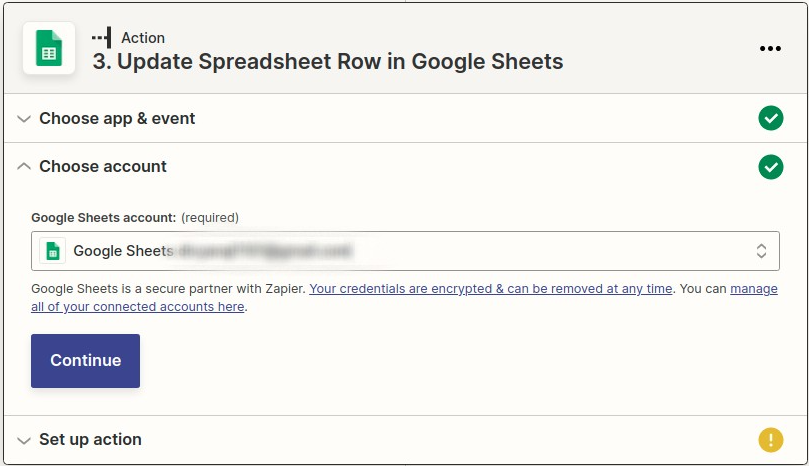
- Choose your Google account and click "Continue".
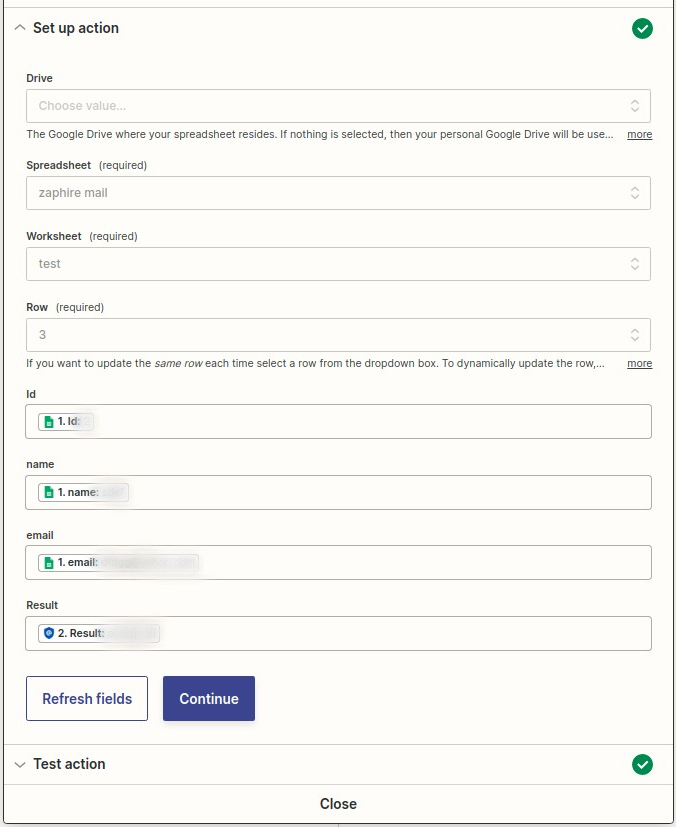
- Choose your Drive and select the required Spreadsheet and Worksheet. Then map the Bouncify verification result fields to the respected spreadsheet columns and click "Continue".
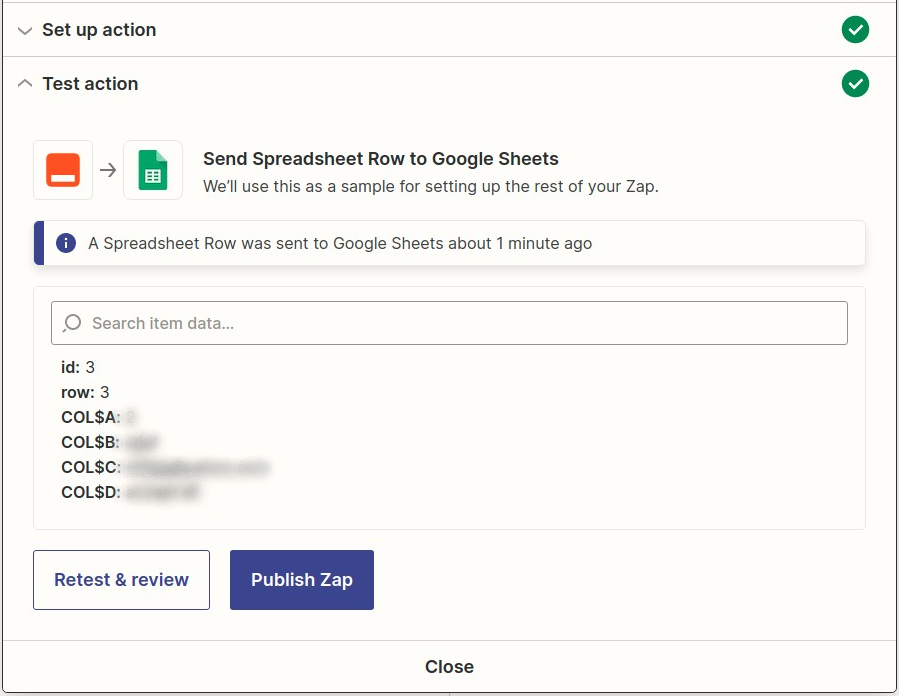
- Now you can test the action and publish the Zap. Click on the “publish Zap” button.
Key Advantages of Bouncify + Zapier
- Automated Cloud Sync: No CSV downloads or file formatting issues. Contacts transfer securely via authenticated API or OAuth2.
- 99.4% Verified Accuracy: Comprehensive 9-stage verification eliminates invalid emails, spam traps, disposable addresses, and syntax errors.
- Sender Score Safeguard: Automatically suppress bounces and keep your ESP bounce rate safely below 1%, protecting campaign deliverability.
- Credits Never Expire: Pay-As-You-Go verification credits never expire. Use your credits whenever your campaign schedule demands.
Frequently Asked Questions
Bouncify has a native Zapier app. You can set up a Zap with any trigger (e.g. New Form Submission in Typeform) and an Action 'Verify Email with Bouncify', routing leads only if deliverable.
Over 5,000 apps on Zapier, including Salesforce, Pipedrive, Google Forms, Typeform, Wufoo, Webflow, Shopify, Airtable, and Slack.
Yes! Zapier triggers Bouncify's real-time verification endpoint instantly when a new contact is created.
Log in to Bouncify, go to API in your dashboard menu, generate an API token, and enter it when connecting your Bouncify account in Zapier.
Connected Ecosystem
Related Integrations



Let's Try! 100 Free Credits
Ready to Stop Bounces and Maximize Deliverability?
Join 10,000+ businesses and developers protecting their sender reputation with Bouncify.
